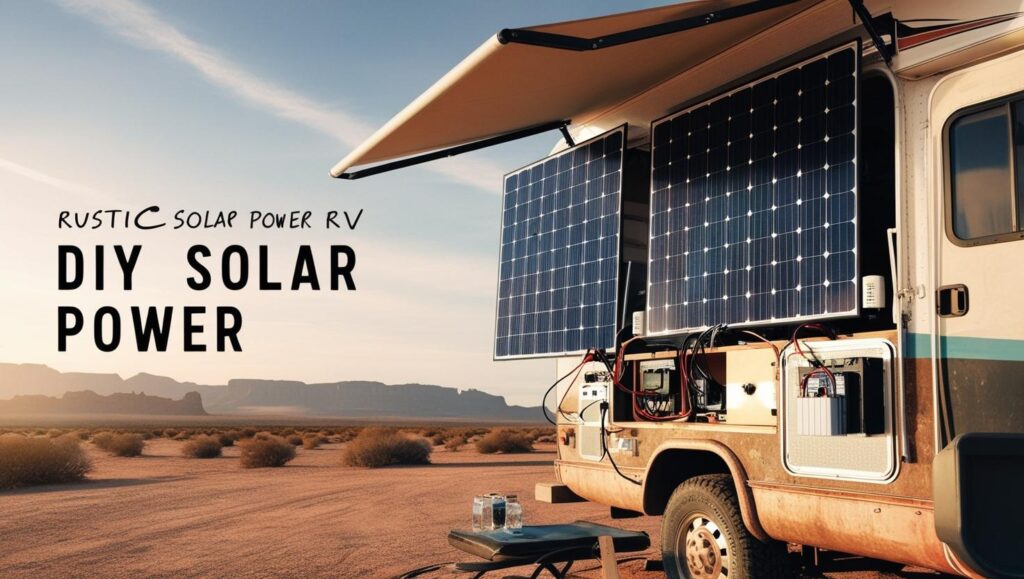
Build Your Own RV Solar Portable System (Step-by-Step Guide)
Picture this: You’re deep in the wilderness, miles from the nearest power outlet, but your phone is charged, your fridge is running, and your lights are bright—all thanks to a portable solar system you built yourself.
Portable solar power isn’t just for hardcore off-gridders. Whether you’re an RVer, camper, overlander, or just preparing for emergencies, a DIY solar setup gives you freedom, savings, and peace of mind.
In this guide, we’ll walk you through building your own compact solar system—safely, affordably, and efficiently. (And if DIY isn’t your style, we’ll also share a top-rated pre-built option.)
Why Go Portable? The Benefits Over Fixed Systems
Why build a portable solar system instead of installing permanent panels? Here’s why:
✔ Flexibility – Move it between your RV, tent, boat, or home emergency kit.
✔ Affordability – Often cheaper than fixed installations (especially if you DIY).
✔ Eco-Friendly Power – Reduce reliance on generators and grid electricity.
✔ Emergency Ready – Essential for blackouts or off-grid survival.
Curious how solar tech has evolved for mobile use? Check out our deep dive: What Was Solar’s RV Big Break?
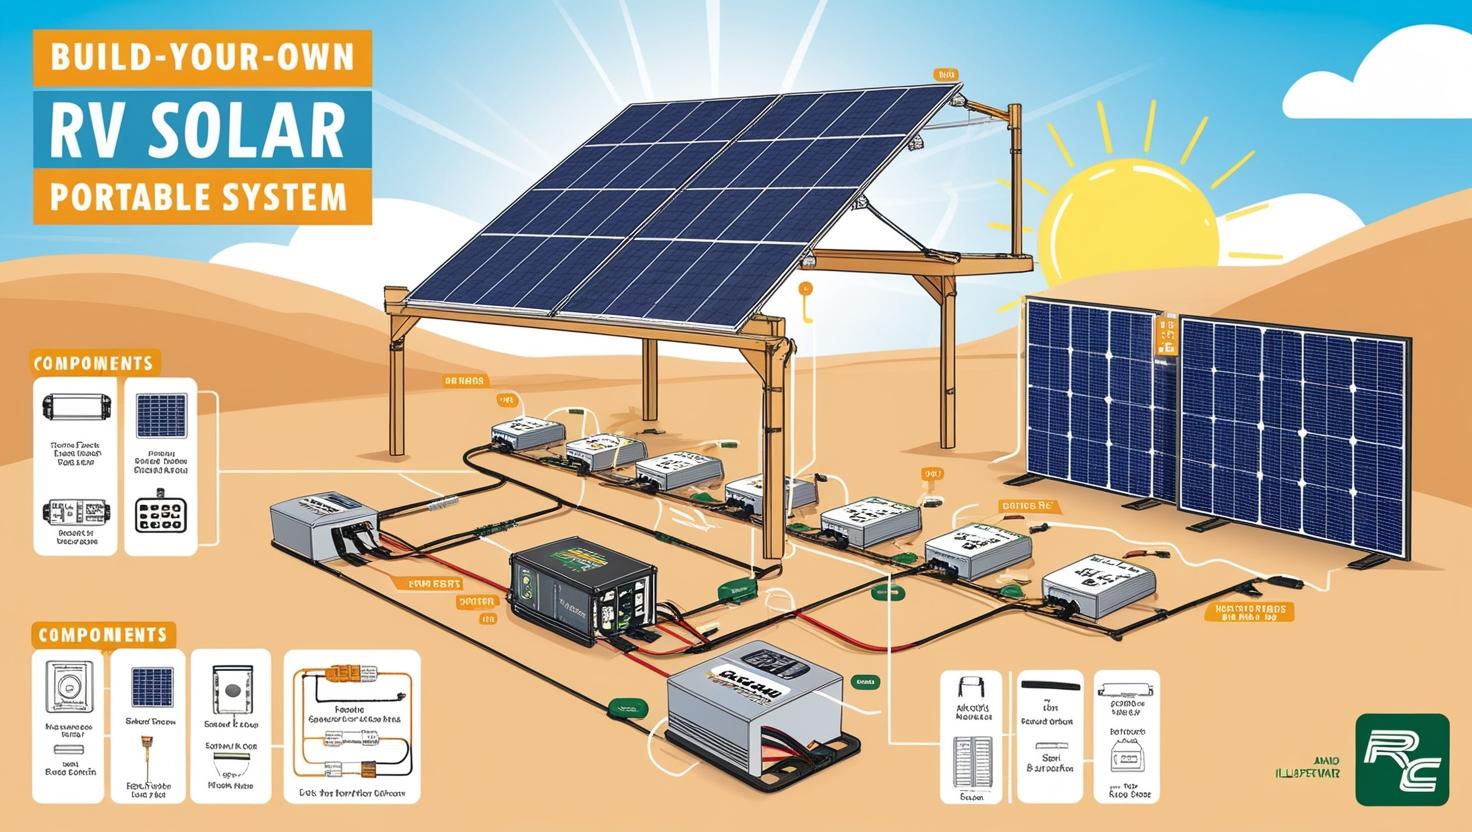
Tools & Materials You’ll Need
Before diving in, gather these essentials:
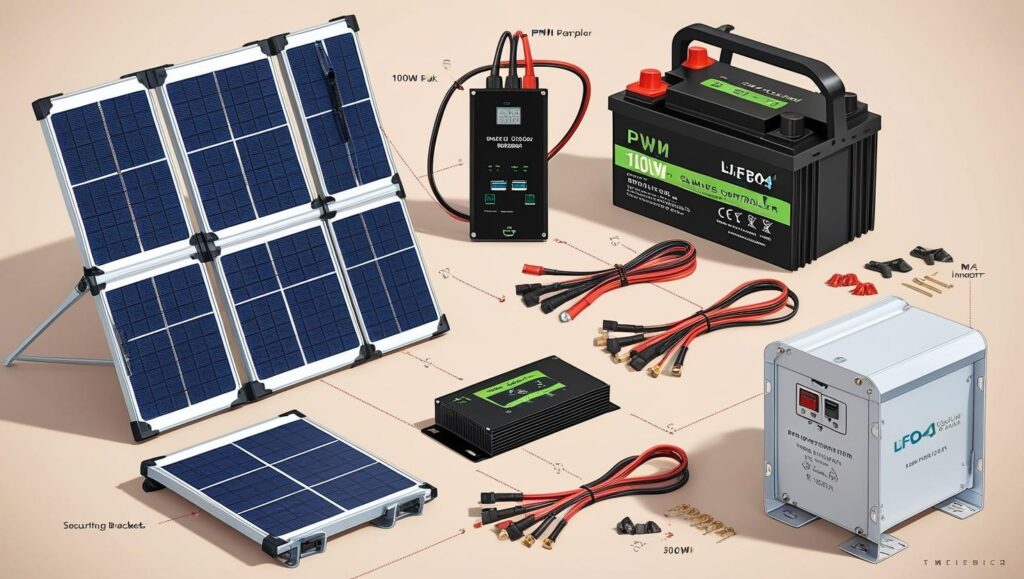
Components
- Solar Panel(s) – 50W to 200W (foldable or rigid, depending on portability needs).
- Charge Controller – PWM (budget) or MPPT (more efficient).
- Battery – LiFePO4 (lightweight, long-lasting) or AGM (cheaper).
- Inverter (Optional) – For AC devices (300W-1000W).
- Wiring & Connectors – 10-12 AWG cables, MC4 connectors.
- Mounting Hardware – Brackets, zip ties, or a DIY frame.
Tools
- Multimeter
- Wire strippers/crimpers
- Screwdrivers & wrenches
- Heat gun (for waterproofing connections)
Pro Tip: If you’re new to solar, our 2005 RV Solar Panels Q&A explains key concepts in simple terms.
Step-by-Step Assembly Guide
Step 1: Choose the Right Solar Panel
- Portability? Foldable panels are great for travel; rigid ones are more durable.
- Power Needs? 100W can charge phones + a fridge; 200W+ handles bigger loads.
Step 2: Connect the Charge Controller to the Battery
- Safety First! Always connect the battery to the controller before the solar panel.
- Match voltage (12V, 24V) and use proper fuses.
Step 3: Wire the Solar Panel to the Controller
- Use MC4 connectors (weatherproof!) and correct polarity (+ to +, – to –).
- Secure cables to avoid tripping or damage.
Step 4: Add an Inverter (If Needed)
- Skip this if you only power DC devices (like RV lights).
- For laptops/appliances, connect a pure sine wave inverter to the battery.
Step 5: Test the System
- Check voltage with a multimeter.
- Verify the charge controller reads incoming solar power.
Pro Tip: For extreme durability, coat connections with liquid electrical tape.
Safety Tips You Can’t Ignore
⚠ Avoid Overloading – Don’t exceed your battery’s amp-hour rating.
⚠ Ventilate Batteries – Lead-acid batteries release flammable gas.
⚠ Weatherproof Everything – Seal connections, elevate electronics in rain.
⚠ Fire Risk – Use fuses/circuit breakers on all major connections.
Older solar setups had more risks—learn why here: 2005 vs. 2024 RV Solar Panels
Best Pre-Built Portable Solar Kits (For the Non-DIYers)
If building isn’t your thing, we recommend:
ThriftyVolt GoSun Portable Kit
✅ 200W foldable panel + MPPT controller
✅ Lightweight LiFePO4 battery (expandable)
✅ Plug-and-play setup (ready in 5 minutes)
*”After testing 15+ kits in tropical climates, this one balances price, power, and durability.”*
[Check Current Availability] (CTA link to product page)
Conclusion: Power Wherever You Roam
Building a portable solar system isn’t just about saving money—it’s about gaining independence. Start small (a 100W panel + battery), then expand as needed.
And if you’d rather skip the DIY hassle? Our top-rated kit delivers instant off-grid power.
Ready to take control of your energy? [Explore Portable Solar Kits] (CTA link)